Showing posts with label "bike repair". Show all posts

Monday, September 24, 2007

REMOVING RUST FROM CHROME BIKE PARTS


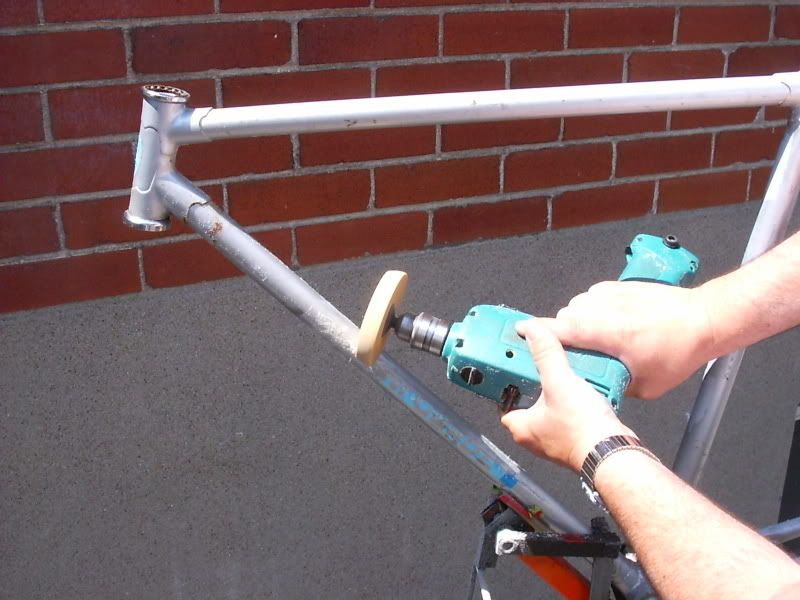
Rust was a very happy dweller on all the chromed parts of this bike. I had no intention of having anything re-chromed since it's very expensive. So I took everything apart first and then went to work.

In the pictures you'll see the front hub being rebuilt and cleaned, but this applies to all the chrome parts on the bike. If you want to find out how to take these things apart, just go to bikeoverhaul1 site for all the details with pictures.

The outside of the hub was pretty bad with some pitting on the chrome. However, it didn't mean that it couldn't come out decent and it did. First off I used a steel brush for the first step of removing the big stuff. I then went and did the whole thing over again with steel wool. Lastly, I used a polishing rag to finish off the parts and give them that nice shiny look. The trick here is to use a polishing compound in every step. This lubricates the part while scrubbing and it will help out a lot. I use Mother's polishing compound, but anything else can do the job as well.

As for the internal parts of the hub, they got the same treatment. But before I went ahead and scrubbed like mad, I sprayed everything with some lemon Pledge furniture polish. You let it sit for a while and that grease will come out real easy. The lemon even dissolves that old caked on grease. Once your done, repack everything with grease and re-assemble. After the hub was done, I laced it to a new rim. I went with a 26 inch MTB steel rim that I painted the same color as the frame. I got a pair of Tioga City Slickers tires and it's looking real good.

I will post on the building of the rear wheel with some pics later so you can all see how it is done.

Keep posted.

Gerry :)

Saturday, September 15, 2007

BICYCLE TEAR DOWN, WHAT'S LEFT


I took the time today to dismantle Victoria and she didn't give me too much of a hard time. That's good considering she was put together over 57 years ago and I found no evidence that she was ever overhauled. When you take a bike apart for a full rebuild, that's when you find out what you have to work with and whatever good original parts you have left.

In this case I realized that both wheels were completely shot. Too many broken spokes and too much corrosion on the rims to recover them. Thankfully, those wheels have 36 spokes, like a modern wheel, so I can reuse the hubs. I am trying to keep as many original parts as I can so the bike doesn't loose too much of it's original character. Besides, that CCM coaster hub is built as if it had to be bullet proof. I was surprised to find a slot in the gear cog to facilitate the addition or removal of the spokes, where in modern hubs, you have to remove the gear. All the chrome is rusted but seems all there. I will build new wheels with the original hubs on 26 inch mountain bike rims. This way I will have a bigger selection of tires. However, space between the fork legs and frame will limit how wide I can go. I will not use the fenders since the smaller wheels will make it look kinda goofy. It will also showcase that beautiful frame better without the fenders.

I have also decided to keep the original finish, scratches and all. I love the color and I figure it would be hard to reproduce that finish. I will stick with shooting it all with a coat of clear. It's now time to get out the brass brush, rags and Mother's polish and clean all the chrome.

To see how to dismantle a bike, check out bike overhaul 1.

Keep posted.

Gerry :)

RAT ROD BIKE BUILD OFF SUBJECT: 1950 CCM


So the build off is now officially on. You can check out the other bikes on the thread here. The bike is a 1950 ladies CCM that a friend gave me a little while back, It has the classic Victorian era step through frame design from the late 19th century. I just love that swooping top tube and that very long head tube. These design features will be the focus of the build and I will try to showcase them.

I intend to keep the original finish since I love the color and it will be hard to match. I also love the fact that the finish tells a story of the bike's life and after all I want to go for a rat bike look. Next step will be to take the bike apart and see what we have to work with. I will try to save as much as I can of the original parts but so far it doesn't look good for the wheels!

I will not go in detail for the deconstruction of this bike since I already did it during the first bike overhaul. So if you want to know how to take a bike apart, go to the Great Canadian Bike Overhaul 1 site.

So keep posted for what's to come.

Gerry

Saturday, June 16, 2007

REMOVING STICKERS AND RUST FROM THE BICYCLE FRAME


Well work has begun! The worst part of it anyways. Removing stickers is about the worst possible thing you can have to do on a bicycle. Especially when they have been on there for 25 years or more. Those darn things are burnt to a crisp at some point and then frozen like ice in a sick cycle of seasons for all this time. So you can be sure they won't give up without a fight.

Sometimes you just warm up the glue in the back by blowing hot air on the stickers with a hair dryer and they will come off pretty easy. Well it wasn't going to be the case with this one. Tried the hair dryer method and these damn things decided to come off one little tiny bit at a time. AAAARGH! So I had this rubber wheel around that you just put into your drill and it is suppose to rub them out. It works but still requires some patience. Guess I wasn't going to have an easy time with this one no matter what. I sure hope that it is not a prelude to more cursing down the road. Trust me, cursing in French Canadian is not pretty.

Once that was done, I started to take care of removing the rust from the frame. There is a lot of it and I decided to use my Dremel tool with a sandpaper drum. Only issue with this technique is that you remove a little bit of steel from the frame and this will affect the finish. I decided to use some putty to smooth out everything. I used model putty from Tamiya. It is very expensive, but the end result will be worth every penny. The key to a great bike paint job first and foremost is a well prepared surface.

Til next time, Godspeed.

Gerry

Sunday, June 10, 2007

HERE WE GO AGAIN!!!


Yes, once again I will get my finger nails dirty and build another bike for your reading pleasure...and mine as well. I'm building this bike to show that even the most plain diamond frame bike can come out a little cool with some work. The plan for this piece of junk bicycle is to be a retro looking one speed coaster brake job. So here is a picture of what I am starting with. Keep posted.

Gerry